


Mounting instructions Studio Front Luggage Carrier Small
Part 1: Attaching the lower brackets
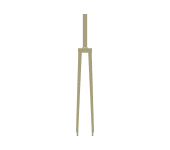
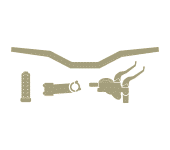
Place the rubberized clamps around the fork blades with the grommets facing forward, position the rubber washers between the grommets, and attach the lower tabs of the rack from the outside using the short socket head cap screws, washers, and matching nuts. Align the rack and tighten the clamp bolts until it stops moving.
Note: Since the widths of the fork sheaths and the distances between them vary, it's okay to bend the clamps and the rack braces slightly to fit your needs. Just remember to bend them carefully and gradually.
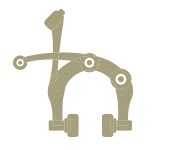
Part 2: Installing the clevis brace
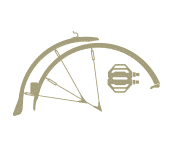
Hold the angled end of the strut against the crown of the fork, noting the position of the brake and other components. Determine the shape of the strut so that it does not interfere with other components. The 90 degree bend can be up or down depending on the situation. Now, if necessary, bend the strut with your hands, a vise, or pliers so that it is flush with the clevis and the bottom of the rack, avoiding all other components. Insert the long clevis bolt or brake bolt through the 90 degree bend in the strut and use the nut and washer or brake mounting nut to secure the strut to the clevis. Use 2 pan head bolts, 2 washers, and 2 nuts to secure the strut to the rack platform. Make sure everything is level and tight, a level can help with this.
Have fun with your new front rack!
