Mounting instructions Studio rear wheel luggage rack
VARIANT 1 - MOUNTING ON THE MUDGUARD:
Part 1: Attaching the lower brackets
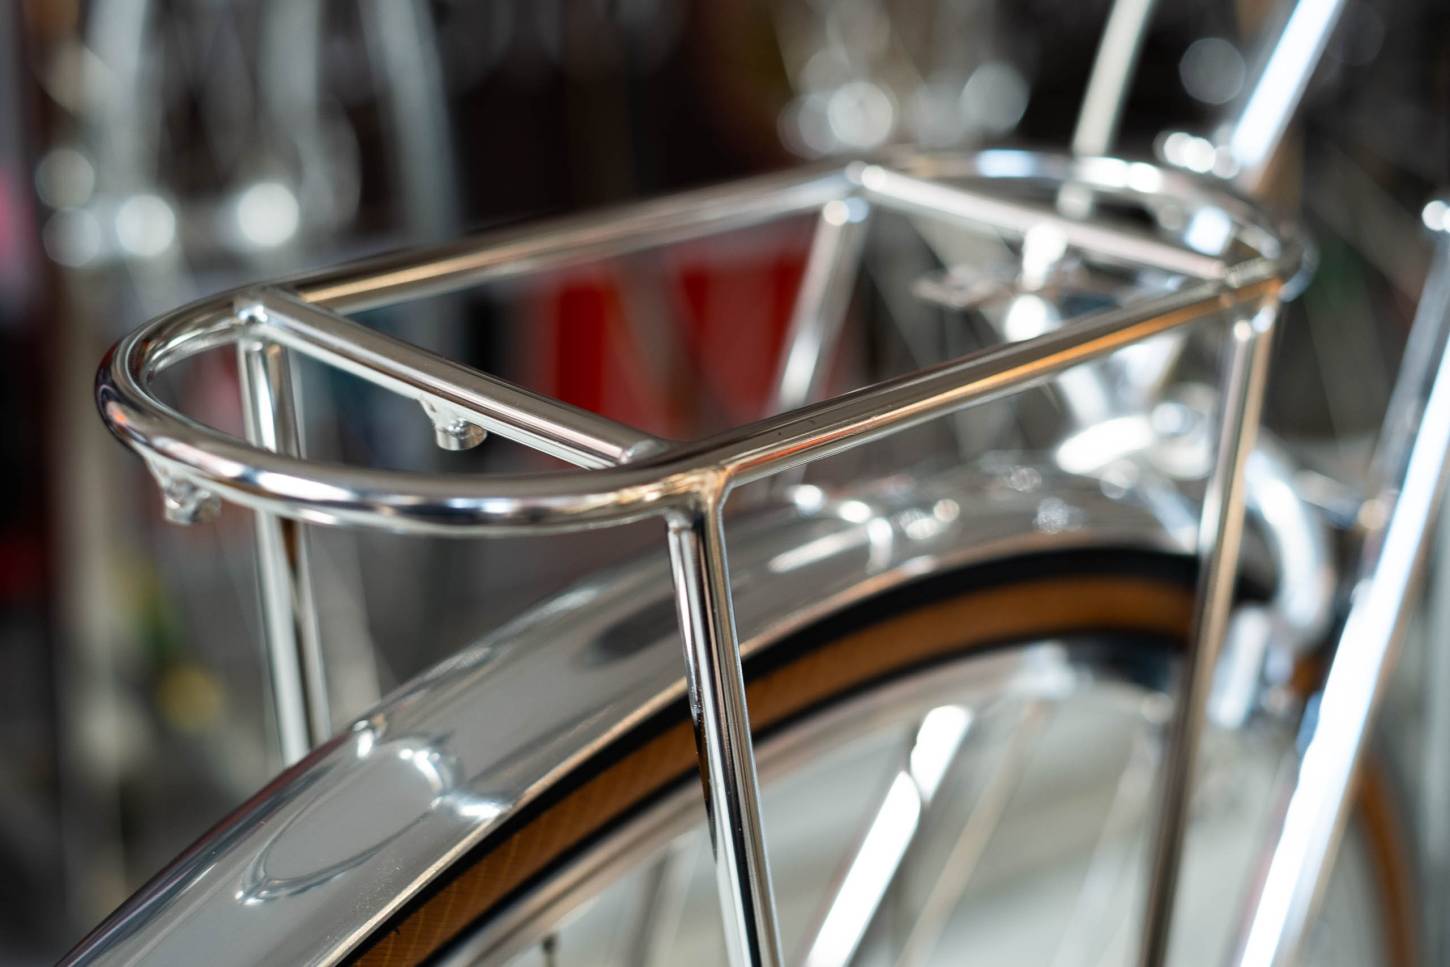
The luggage rack should sit as low as possible, just above the mudguard. To do this, select the appropriate holes in the lower mounting tabs of the luggage carrier and screw the tabs to the mounting eyelets using the short cylinder head screws and washers. If necessary, the lugs must be shortened beforehand so as not to obstruct the rear wheel, for this you will need a hacksaw and a file to deburr the cut edges. Align the rack and tighten the bolts until it stops moving. A spirit level can help with the alignment.
Note: For mounting without fork eyelets are required corresponding Adapter plates needed, which are threaded depending on the model on the axle or the quick release and attached together with the rear wheel. The holes in the adapter plates then act exactly like mounting eyelets
Part 2: Mounting to the fender
Leave just enough room for a leather washer between the luggage rack mounting eyelets (the threads under the luggage rack) and the mudguard, and mark the mudguard at the appropriate points. To drill the mudguard at the marked points, a metal drill bit and a wooden drill pad are recommended. In addition, the mudguard should be disassembled for drilling. Once all these steps have been taken, the short screws are turned from the inside, through the mudguard and leather washers into the threads of the luggage carrier and tightened.
Note: This mounting option is only recommended in combination very stable fenders, for example, stainless steel. In addition, a certain manual "know-how" is recommended
VARIANT 2 - MOUNTING ON THE BRAKE BAR
If you do not have fenders or plastic mudguards, use the brake stay brace provided.
Part 1: Attaching the lower brackets
Select the appropriate holes in the lower mounting tabs of the rack to set the desired height of the rack and bolt the tabs to the mounting lugs using the appropriate socket head cap screws and washers. If necessary, the lugs must be shortened beforehand so as not to obstruct the rear wheel, for this you will need a hacksaw and a file to deburr the cut edges. Align the rack and tighten the bolts until it stops moving. A spirit level can help with the alignment.
Note: For mounting without fork eyelets are needed corresponding Adapter plates needed, which are threaded depending on the model on the axle or the quick release and fastened together with the rear wheel. The holes in the adapter plates then act as mounting eyelets
Part 2: Installing the Brake Bar Brace
Hold the angled end of the strut against the brake web and note the position of the brake and other components. Determine the shape of the strut so that it does not interfere with other components. The 90 degree bend can be up or down depending on the situation. Now, if necessary, bend the strut with your hands, a vise, or pliers so that it is flush with the brake stay and the bottom of the rack, avoiding all other components. Insert the long brake stay bolt or brake bolt through the 90 degree bend in the stay and use the nut and washer or brake mounting nut to secure the stay to the brake stay. Use a pan head bolt and washer to secure the strut to the threads of the luggage rack. Make sure everything is level and tight and check again to make sure the rack is perfectly aligned, readjust if necessary!
Have fun with your new rear rack!

